Course Layout
Hole 1
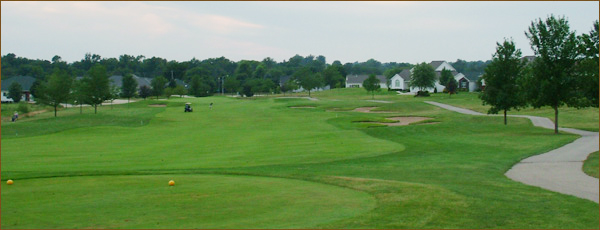
Par 4
388 Yards Green tees
365 Yards Blue tees
348 Yards White tees
331 Yards Silver tees
292 Yards Gold tees
The starting hole is a downhill, rather short par four with three bunkers on the right side of the landing area. A side wind is common here, making it important to keep your tee shot in the fairway. The green is narrow and has bunkers front left and on the right side.
Hole 2
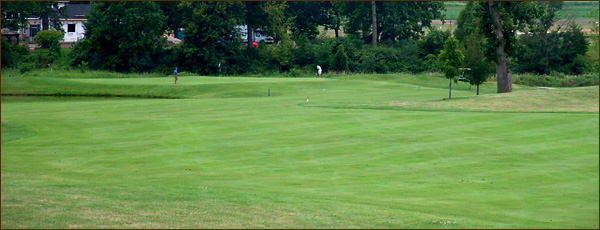
Par 5
520 Yards Green tees
508 Yards Blue tees
480 Yards White tees
478 Yards Silver tees
426 Yards Gold tees
This hole is a three shot par five except for the really long hitters. Surrounding the green is a pond left, marsh and creek behind and to the right. The large tree about 100 yards to the green makes going for the green in two a big risk reward for those brave enough to try. The green is kidney shaped and slopes towards the pond on the left. Par is a good score here.
Hole 3
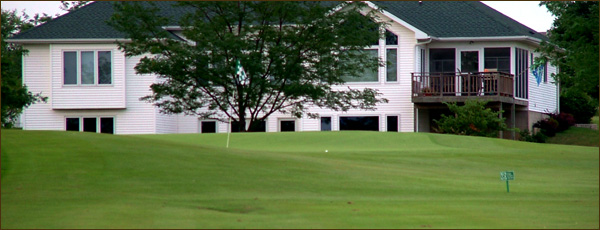
Par 4
422 Yards Green tees
387 Yards Blue tees
372 Yards White tees
334 Yards Silver tees
319 Yards Gold tees
Slightly uphill par four with a large green guarded by deep bunkers on the left and a green that slopes away on the backside. No fairway bunkers to worry about. Swing away with your driver and know where the pin is located on a deep green.
Hole 4

Par 3
166 Yards Green tees
142 Yards Blue tees
109 Yards White tees
105 Yards Silver tees
89 Yards Gold tees
The shortest of all par threes. In addition to a pond on the left and deep pot bunkers short and behind, the swirling winds created by the surrounding houses makes choosing the right club off the tee a difficult, and important decision.
Hole 5
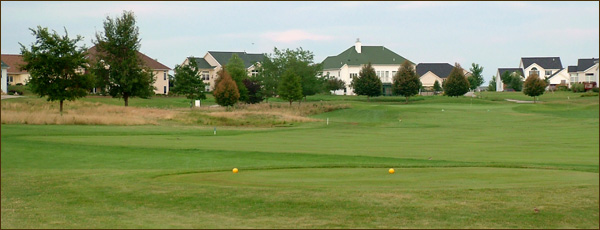
Par 4
392 Yards Green tees
361 Yards Blue tees
338 Yards White tees
335 Yards Silver tees
276 Yards Gold tees
This tee shot landing area is guarded by bunkers left and right with prairie grass farther left of the fairway bunker. A good drive in the fairway leaves you with a mid to short iron approach to a two-tiered green that slopes back to front.
Hole 6
Par 5
590 Yards Green tees
558 Yards Blue tees
530 Yards White tees
482 Yards Silver tees
447 Yards Gold tees
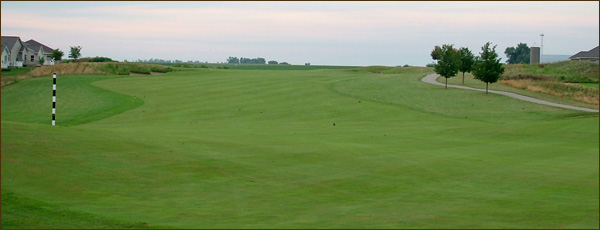
The dogleg par five has you teeing off over a mound with out of bounds on the right side. The second shot is a blind shot to a flat landing area with the green being elevated, deep bunkers on the left side and a green that slopes back to front. If playing down wind, a eagle or birdie is a possibility. However against the wind, par is good score.
Hole 7
Par 4
423 Yards Green tees
389 Yards Blue tees
361 Yards White tees
356 Yards Silver tees
306 Yards Gold tees
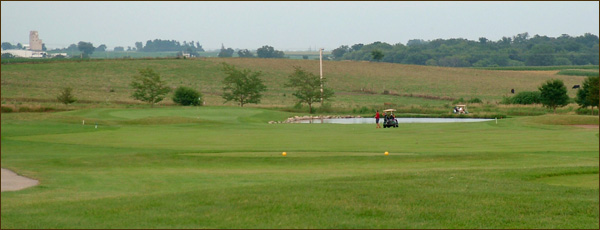
Straight downhill par four with bunkers on both sides of the fairway. Bunkers can be driven over by the big hitters. The green is protected by a pond on the right side and a swale left of the green. The back part of the green has a shelf and is the most difficult pin placement.
Hole 8

Par 3
170 Yards Green tees
153 Yards Blue tees
119 Yards White tees
115 Yards Silver tees
102 Yards Gold tees
Hit the green and you should have a par. Miss the green and trouble looms left with two pot bunkers and right with a swale and chipping back up to an elevated green. The green slopes from back to front and slightly to the right.
Hole 9
Par 4
431 Yards Green tees
409 Yards Blue tees
382 Yards White tees
325 Yards Silver tees
317 Yards Gold tees
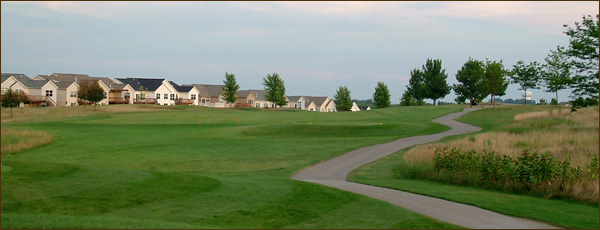
This hole is a challenge with a blind landing area for your tee shot with bunkers left to protect an errant shot from going out of bounds. The green is elevated with a collection area to the left and a series of four bunkers on the right. Prevailing wind usually is against you when you play this hole so it plays long.
Hole 10

Par 4
420 Yards Green tees
385 Yards Blue tees
378 Yards White tees
361 Yards Silver tees
318 Yards Gold tees
The start of the back nine gives a hint of what’s coming with the tee shot needing to be in the fairway with long grass and out of bounds all the way down the left side and out of bounds on the right side as well. The green is elevated and sits with deep bunkers guarding the left side. Par is a good score.
Hole 11
Par 4
435 Yards Green tees
398 Yards Blue tees
386 Yards White tees
330 Yards Silver tees
321 Yards Gold tees
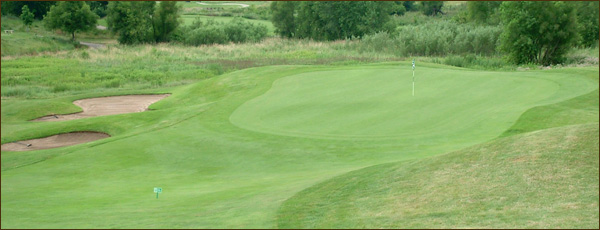
Slight dogleg to the left with the tee shot landing on a plateau leaving downhill approach shot to a raised green with bunkers on the the left side of the green. A ridge runs across the front third of the green making club selection a deciding factor of birdie or bogey.
Hole 12
Par 5
523 Yards Green tees
504 Yards Blue tees
481 Yards White tees
416 Yards Silver tees
410 Yards Gold tees
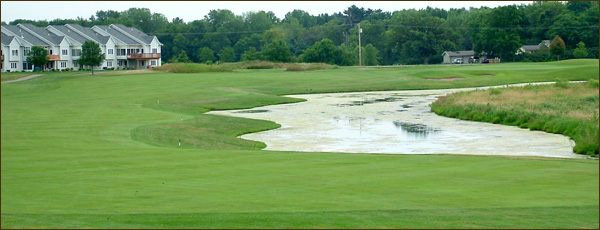
This par five plays around a pond and can be reached by two good shots. The fairway is wide but you have to make sure you don’t cut too much off because the fairway slopes to the pond. The green is two-tiered and slopes to the pond and pot bunkers in front of the green. Make sure you know where the placement of the pin is. It’s tough to make a putt from above the hole or from behind the green.
Hole 13
Par 4
361 Yards Green tees
346 Yards Blue tees
323 Yards White tees
275 Yards Silver tees
263 Yards Gold tees
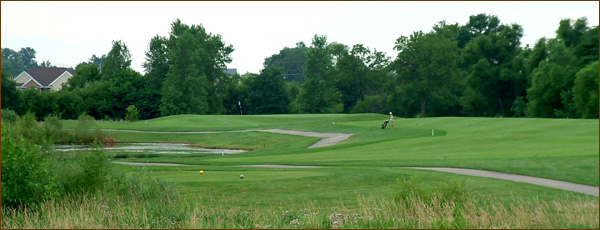
This is the number one handicap hole for a reason. Ponds on both sides of the fairway and another pond near the the green on the right. You must keep the ball in the fairway and any shot hit left of the cart path tends to go into the pond. The green is elevated and one of the smallest on the course. Short par four and a lot of trouble lurks for those players that are indecisive on how to play this hole.
Hole 14
Par 3
189 Yards Green tees
178 Yards Blue tees
134 Yards White tees
132 Yards Silver tees
123 Yards Gold tees
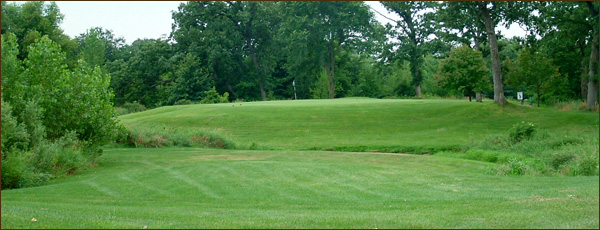
Tough par three teeing off to a large raised green with a big oak tree on the front right of the green which over hangs the green. In front of the green is a creek that runs into the marsh on the left. There is a mound in the middle of the green which makes it tough to tell the location of the pin from the tee.
Hole 15
Par 4
335 Yards Green tees
302 Yards Blue tees
253 Yards White tees
250 Yards Silver tees
225 Yards Gold tees
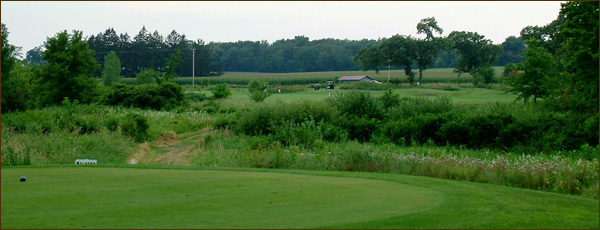
Short par four with a forced carry from the back two tees over the marsh. Though drivable for the long hitters, you have to beware of the ponds on the left and behind the green. The green is narrow and has a ridge that bisects the front third of the green.
Hole 16
Par 3
201 Yards Green tees
189 Yards Blue tees
134 Yards White tees
130 Yards Silver tees
125 Yards Gold tees
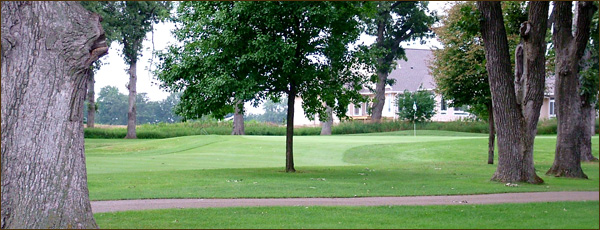
Long par three with big oak trees surrounding the green. A long iron or hybrid is the usual club selection off the tee. There are bunkers in front of the narrow opening to the green on both sides that will stop shots that are just a bit off line.
Hole 17

Par 5
613 Yards Green tees
544 Yards Blue tees
500 Yards White tees
410 Yards Silver tees
401 Yards Gold tees
This dogleg par five has a tight landing area for the tee shot. A long pond guards the left side of the fairway from about 275 out, all the way to the green, forcing your approach shot to be an accurate one.
Hole 18
Par 4
428 Yards Green tees
409 Yards Blue tees
380 Yards White tees
340 Yards Silver tees
330 Yards Gold tees
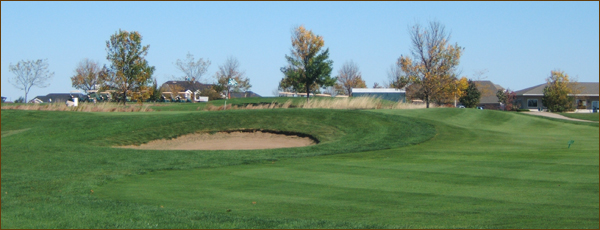
An uphill dogleg par four with bunkers on both sides of the corner of the dogleg that are in play. A good drive leaves a mid to short iron to an elevated green with deep bunkers on the left side.